Upload a file to a Web server in ASP.NET by using Visual C# .NET
Upload a file to a Web server in ASP.NET by using Visual C# .NET
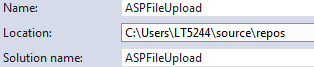
- Open the Visual Studio
- Click New > Project ASP.NET WebApplication

- Name it accordingly
- When the Project gets created, right click on it and click on Add > New Item > Web Form
- Name the form FileUpload.aspx

- Open the FileUpload.aspx
the following code
<%@ Page Language="C#" AutoEventWireup="true" CodeBehind="FileUpload.aspx.cs" Inherits="ASPFileUpload.FileUpload" %>
<!DOCTYPE html>
<html xmlns="http://www.w3.org/1999/xhtml">
<head runat="server">
<title>FileUpload</title>
</head>
<body>
<form id="form1" enctype="multipart/form-data" runat="server">
<p><input type="file" id="File1" name="File1" runat="server" /></p>
<asp:Button ID="submitbtn" Text="Submit" OnClick="Submit1_ServerClick" runat="server" />
</form>
</body>
</html>

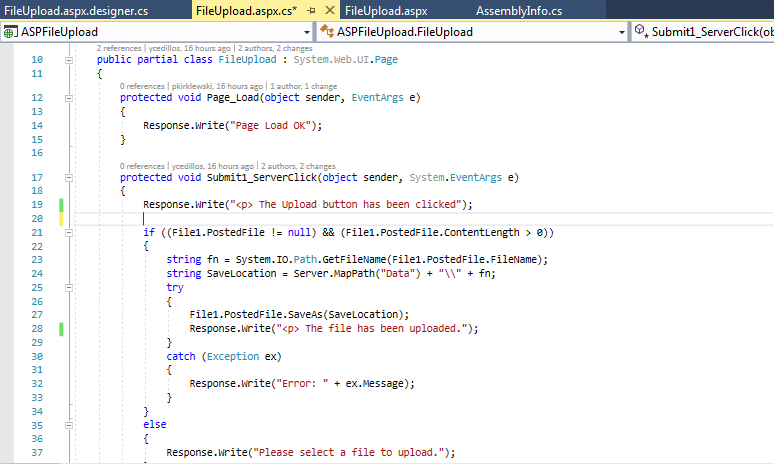
- Then add the following code i to FileUpload.aspx.cs
using System;
using System.Collections.Generic;
using System.Linq;
using System.Web;
using System.Web.UI;
using System.Web.UI.WebControls;
namespace ASPFileUpload
{
public partial class FileUpload : System.Web.UI.Page
{
protected void Page_Load(object sender, EventArgs e)
{
Response.Write("Page Load OK");
}
protected void Submit1_ServerClick(object sender, System.EventArgs e)
{
Response.Write("<p> The Upload button has been clicked");
if ((File1.PostedFile != null) && (File1.PostedFile.ContentLength > 0))
{
string fn = System.IO.Path.GetFileName(File1.PostedFile.FileName);
string SaveLocation = Server.MapPath("Data") + "\\" + fn;
try
{
File1.PostedFile.SaveAs(SaveLocation);
Response.Write("<p> The file has been uploaded.");
}
catch (Exception ex)
{
Response.Write("Error: " + ex.Message);
}
}
else
{
Response.Write("Please select a file to upload.");
}
}
}
}
- Create a new folder called “Data” in the root of your project directory. This is where the uploaded files will be stored.

- Test by clicking on the “Play button”

- Chose the file

- Pick the file of your choice


- Now hit the submit button
- The effect

- Now, navigate to the Data folder that you have previously created in the main directory of your project
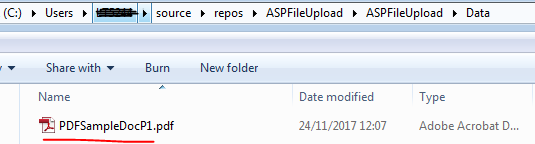
- The file has been uploaded successfully


Comments
Post a Comment