Windows Azure BizTalk SB adapter to Windows Azure Queue and back - Simple Example
Windows Azure BizTalk SB adapter to Windows Azure Queue and back - Simple Example

Configure Windows Azure Service Bus Queue
Queue-based technology is a very powerful way to exchange data between remote clients in an asynchronous manner.
Microsoft provides an asynchronous message queuing mechanism by providing: MSMQ and Azure Service Bus. MSMQ is an old technology present on the market as a feature since NT4 and Windows 95. However Azure Service Bus was released in 2012.
BizTalk Server supports both MSMQ and SB mechanisms and it provides dedicated adapters. MSMQ comes with WCF Adapter and netMsmqBindings.
Azure Service Bus is supported by BizTalk Service Bus adapter.
- Download the Microsoft Azure Shell. ( This is needed because BizTalk Service Bus adapter uses Access Control Service or Access Control Signature for authentication
- Since the only option for authentication in Azure Portal is SAS (Shared Access Signature) a simple PowerShell script will be used to create an ACN (Access Control Namespace) for Azure Service Bus.
The syntax of the script:
New-AzureSBNamespace -Name <Your Namespace> -Location <Your Location> -
CreateACSNamespace $true -NamespaceType Messaging
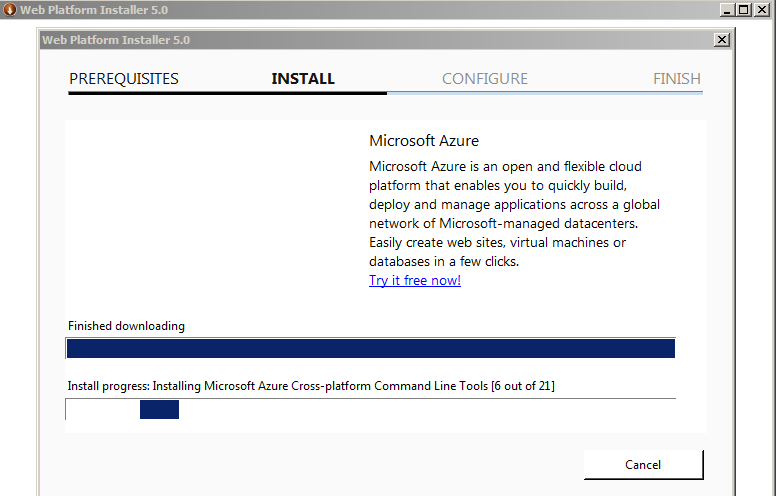
- Web Platform Installer will give you the opportunity to install the Azure PowerShell together with all the dependencies required
 |
 |
 |
- Click I Accept and Install
- Restart your system
- Click start and type powershell, you should see Windows Azure PowerShell on the list
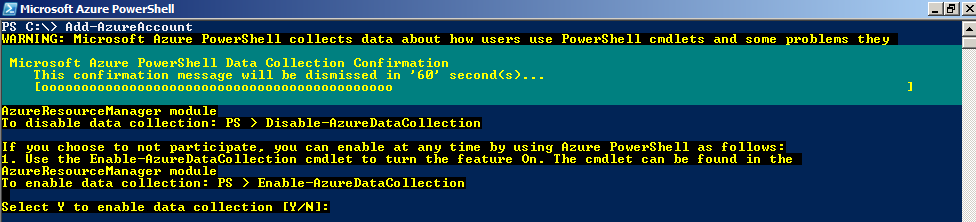
- Open Microsoft Azure PowerShell and type the following command in order to add your Windows Azure Account.
Add-AzureAccount

- Confirm the data collection agreement
- Sign in to your Azure account

- This is what you will get in response
- Log in:


- Create a new namespace with ACL authentication.
New-AzureSBNamespace -Name vmexpertisenamespace -Location “Central US” -
CreateACSNamespace $true -NamespaceType Messaging

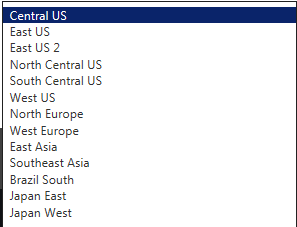
- Regions available (2015)
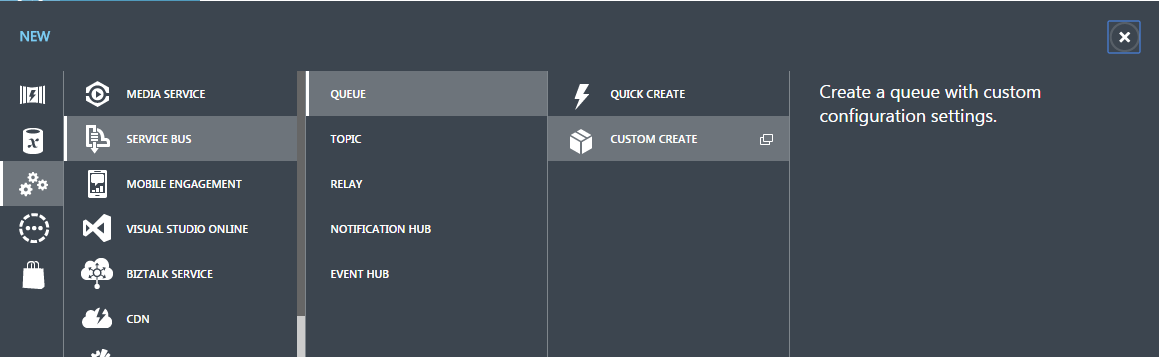
- Let's create a queue to store all the messages.
- Choose Service Bus option. The namespace created should be listed on the screen.

- Choose the option to add a new queue

- Choose Service Bus, Queue and Custom Queue.
- Type the name of your queue, and choose the namespace created.
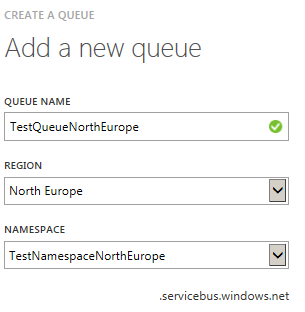
- Uncheck the option “Enable Partitioning”


- Configure BizTalk Send Port to store messages in the Azure Message Queue
- Open the Microsoft Biztalk Administration Console
- Create a new application by right clicking on the Applications
- Name the new application “SendMessageToAzureQueue” and click OK
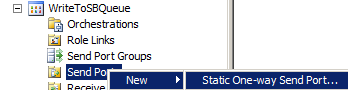
- Right click Send Ports option, choose New and select Static-One-way-SendPort
- Give it a meaningful name. In the Choose SB-Messaging and XMLTransmit in the Send pipeline field.
- Type: SB-Messaging
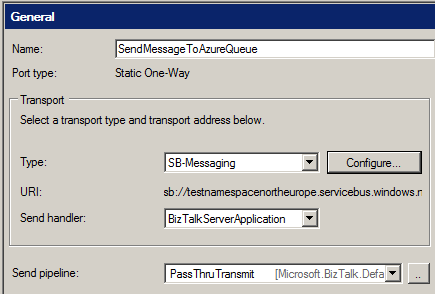
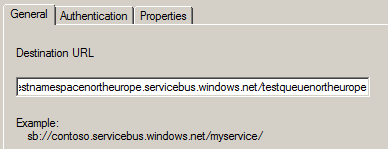
- Click Configure… and on the General tab, provide the URL of your queue that has the following format:
sb://TestNamespaceNorthernEurope.servicebus.windows.net/testqueuenortheurope
sb://<namespace>.servicebus.windows.net/<queue name>
|
- The URL can be extracted from the Azure portal
- Go to Service Bus > TestNamespaceNorthEurope > Queues > testqueuenortheurope and click on theconnection information link at the bottom of the page.


- This will give you the following:
Endpoint=sb://testnamespacenortheurope.servicebus.windows.net/;SharedAccessKeyName=MyNewPolicyName;SharedAccessKey=6WLd4fxvIvrm6p8QcVjifsa8o1TJuVFLrxNUdREhsuE=
Endpoint
|
sb://testnamespacenortheurope.servicebus.windows.net/ (please mind the final slash)
|
SharedAccessKeyName
|
MyNewPolicyName
|
SharedAccessKey
|
6WLd4fxvIvrm6p8QcVjifsa8o1TJuVFLrxNUdREhsuE=
|
- You can now configure your Send / Receive ports
- On the General tab use the endpoint from the above table and add the queue name
sb://testnamespacenortheurope.servicebus.windows.net/testqueuenortheurope
- Now it’s time to configure the authentication
SharedAccessKeyName: MyNewPolicyName
SharedAccessKey: 6WLd4fxvIvrm6p8QcVjifsa8o1TJuVFLrxNUdREhsuE=

- Then, click OK twice, to finish
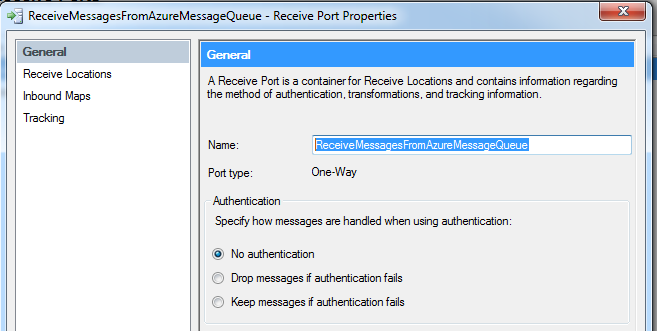
Configure Receive Port to get messages from the Message Queue
- Right click Receive Ports, choose New and select One-way Receive Port...

- Type a name according your standards
- On Receive Locations, click New.

Type a name according your standards, and choose SB-Messaging on the Type field. Choose XMLReceive on Receive pipeline

- Cic on Configure...button. The URL of the queue is the same of the send port created
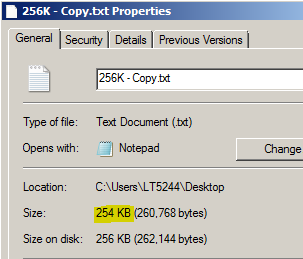
256 K Limit on Queue
Turns out that there is a message limit of 256K. Testing it gives an interesting insight into which value is actually taken into account and it is the “Size” value, not the “Size on disk” value.
This message will go through
|
This message will fail in BizTalk
|
 |  |
Surprisingly, when the message fail to transmit because of the 256K limit on queues, the error on BizTalk will not mention that. It will elude a communication error which may be very misleading.
| |
 | |


Comments
Post a Comment